Enhancing the aesthetic appeal and durability of your home garden often starts with a well-maintained fence. Fence painting is a simple yet effective way to protect your fencing materials from weather damage while adding a splash of color to your outdoor space. If you’re considering giving your garden fence a fresh coat of paint, it’s essential to understand the key steps and tips for successful fence painting.
Why Is Fence Painting Important?
Painting your garden fence does more than just improve its appearance. It provides a protective layer against moisture, UV rays, and pests, extending the lifespan of your fencing materials. Moreover, a freshly painted fence can complement your overall garden design, making your outdoor area more inviting and vibrant.
Preparation Is Key
Before you begin painting, thorough preparation is crucial. Start by inspecting your fence for any damages such as rot, cracks, or loose boards. Repair or replace damaged sections to ensure a smooth finish. Then, clean the fence surface thoroughly using a garden hose or pressure washer to remove dirt, mold, and previous paint residues.
Allow the fence to dry completely before applying any primer or paint. If the old paint is peeling or flaking, use a paint scraper or coarse brush to remove loose particles. Proper preparation not only improves adhesion but also results in a more durable finish.
Choosing the Right Paint and Tools
When it comes to fence painting, selecting the right type of paint is essential. For outdoor fences, use high-quality, weather-resistant paints such as exterior latex or oil-based paints. These options provide durability, flexibility, and resistance to the elements.
Additionally, picking the right tools can make your work easier. Use a brush for detailed areas and corners, while rollers or sprayers can help cover large flat surfaces efficiently. Don’t forget to wear protective gear like gloves, goggles, and a mask to ensure safety during the process.
Applying the Paint
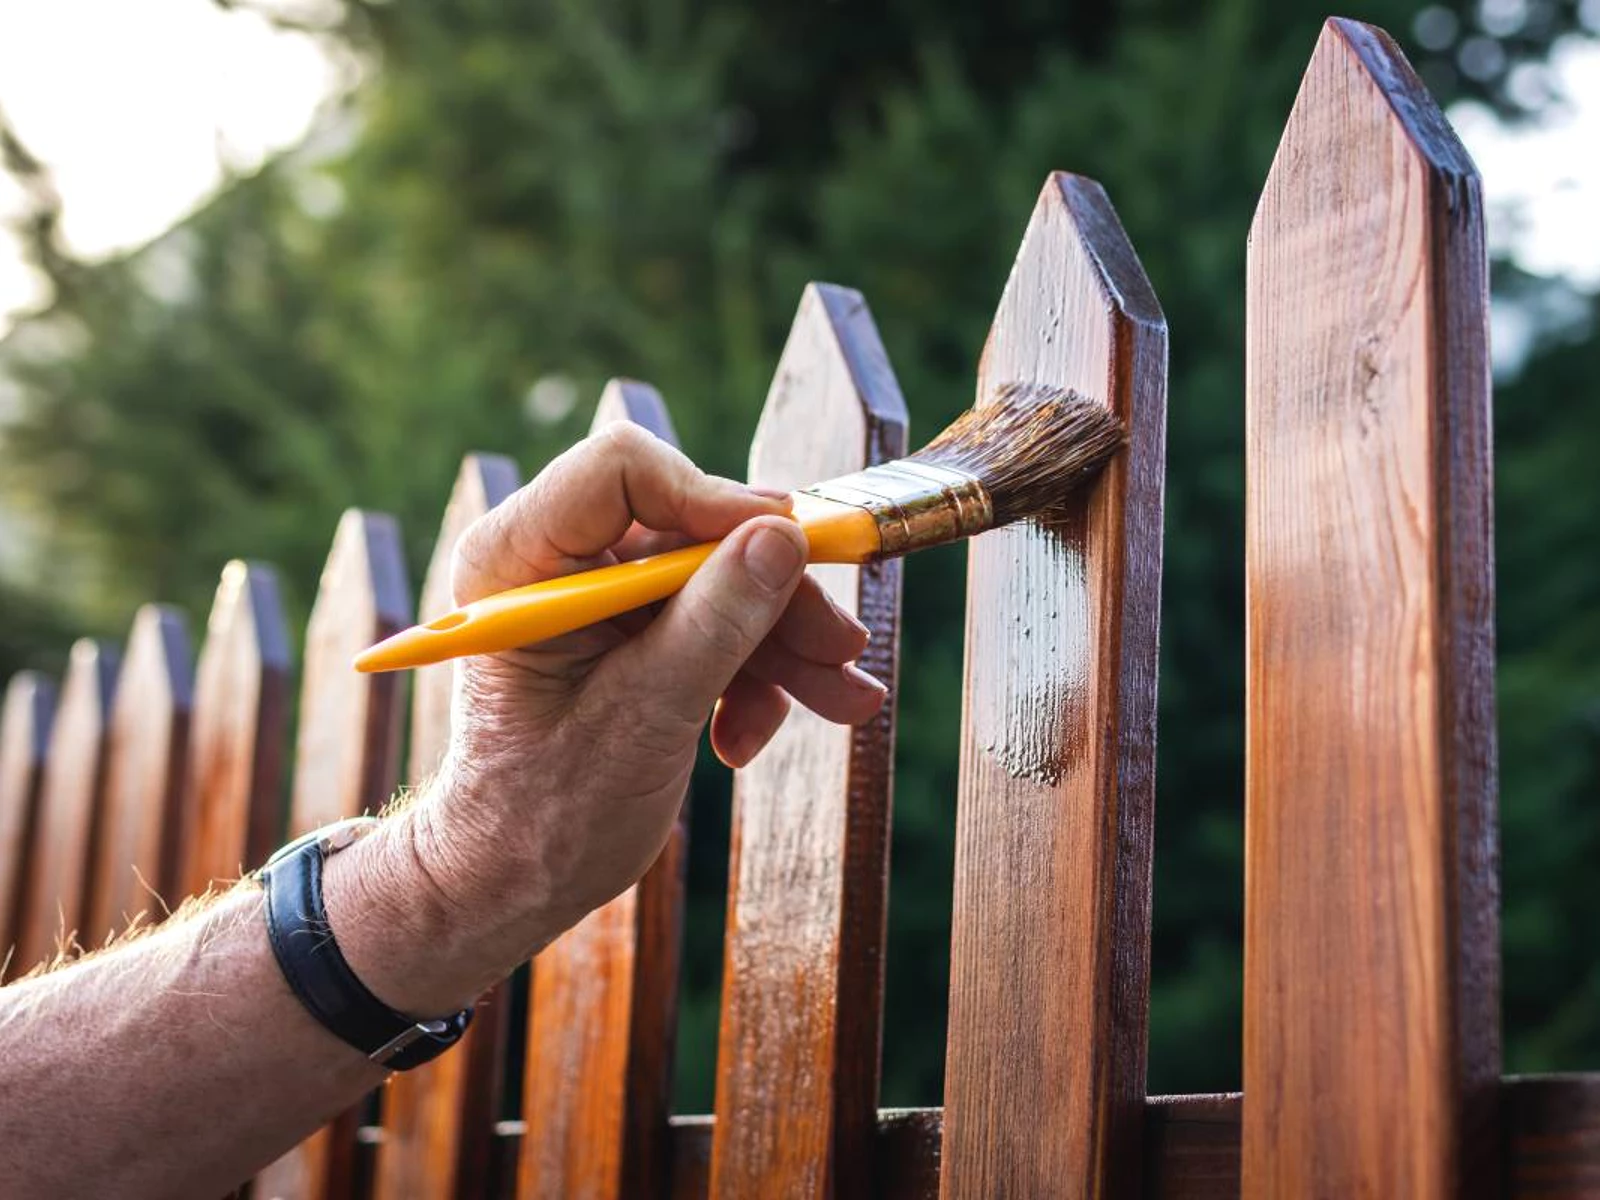
Start by applying a primer, especially if the fence is bare wood or significantly stained. Primer helps the paint adhere better and extends its lifespan. Once the primer dries, proceed with painting using long, even strokes. For best results, apply at least two coats of paint, allowing proper drying time between coats.
Consistency is key in fence painting. Avoid overloading your brushes or rollers with paint to prevent drips and uneven coats. To achieve a smooth finish, keep a wet edge to prevent visible seams or overlaps.
Additional Tips & Maintenance
- Paint during favorable weather conditions—aim for dry, mild days to ensure proper drying and curing.
- Regularly inspect your fence for chips or peeling paint, and touch up as needed to maintain its appearance and protection.
- Consider staining instead of painting if you prefer a more natural look; however, the principles of preparation and application remain similar.
Learn More
If you’re eager to dive deeper into the topic, check out all you need to know about fence painting of home garden. This resource provides comprehensive guidance to help you achieve professional-looking results.
For additional home improvement tips and ideas, visit the Notepare homepage. Whether you’re tackling fence painting or other garden projects, having the right information can make all the difference in creating a beautiful and durable outdoor space.