Every pet owner lives with a quiet but constant worry—the possibility of their beloved cat or dog going missing. Whether your pet is an indoor explorer or an outdoor adventurer, accidents happen: doors are left open, fences fail, and curiosity gets the best of them. One of the best ways to prepare for such situations is by using Lost Pet Recovery Tags. These tags offer vital contact information and identification to help good Samaritans return your furry friend safely. While there are plenty of commercial options available, creating your own custom tag at home is not only rewarding but also budget-friendly. Plus, with modern options like the Gray Silent Tech Tag by Argus, combining DIY creativity with advanced features is easier than ever.
Why Every Pet Needs a Lost Pet Recovery Tag
Before diving into how to make your own tags, it’s important to understand why Lost Pet Recovery Tags are essential. A well-designed tag acts as your pet’s voice when they can’t speak for themselves. It gives clear, accessible information—such as your phone number, address, or an emergency contact—that can significantly shorten the time your pet is missing. In emergencies, time is everything. The sooner someone can identify and contact you, the sooner your pet can come home.
What You’ll Need to Make a DIY Lost Pet Recovery Tag
Creating your own tag at home doesn’t require high-end tools. In fact, most materials can be found at your local craft store or repurposed from everyday items. Here’s a simple list to get you started:
- Durable material (metal discs, plastic key tags, or heavy cardstock)
- A permanent marker or engraving pen
- Keyrings or split rings
- Hole punch or drill (if using harder materials)
- Optional: Clear laminate sheets or epoxy for durability
If you want to add smart functionality, you can use a blank NFC tag or pair your DIY tag with a product like the Gray Silent Tech Tag, which already includes built-in NFC and silent construction—no jingling, no discomfort for your pet.
Step-by-Step Guide to Making a Lost Pet Recovery Tag
Once you have your materials, the process is fairly straightforward. First, choose a base material that’s lightweight yet durable. Metal and hard plastic are great choices for longevity, but laminated paper or coated cardstock can also work in a pinch for temporary tags.
- Design Your Layout: Decide what information you want to include. At minimum, your phone number is essential. You might also add your pet’s name, a reward message, or a note like “Needs Medication” if applicable.
- Write or Engrave the Info: Using a fine-tip permanent marker or engraving pen, neatly write or etch the details onto the tag. For extra protection, seal your design with clear tape, laminate film, or a thin coat of epoxy resin.
- Punch a Hole: Use a hole punch or drill to create a small hole at the top of the tag. This is where you’ll attach the keyring or split ring.
- Attach to Collar: Secure the tag to your pet’s collar using a sturdy ring. Test the fit and make sure it lies flat against the collar to avoid it catching on things or irritating your pet.
- Optional: Pair with NFC Tech: If you’re using an advanced product like the Gray Silent Tech Tag, attach it alongside your homemade tag. This way, you maintain the aesthetic and personalized touch while benefiting from smart tech features.
Enhancing Your DIY Tag with Technology
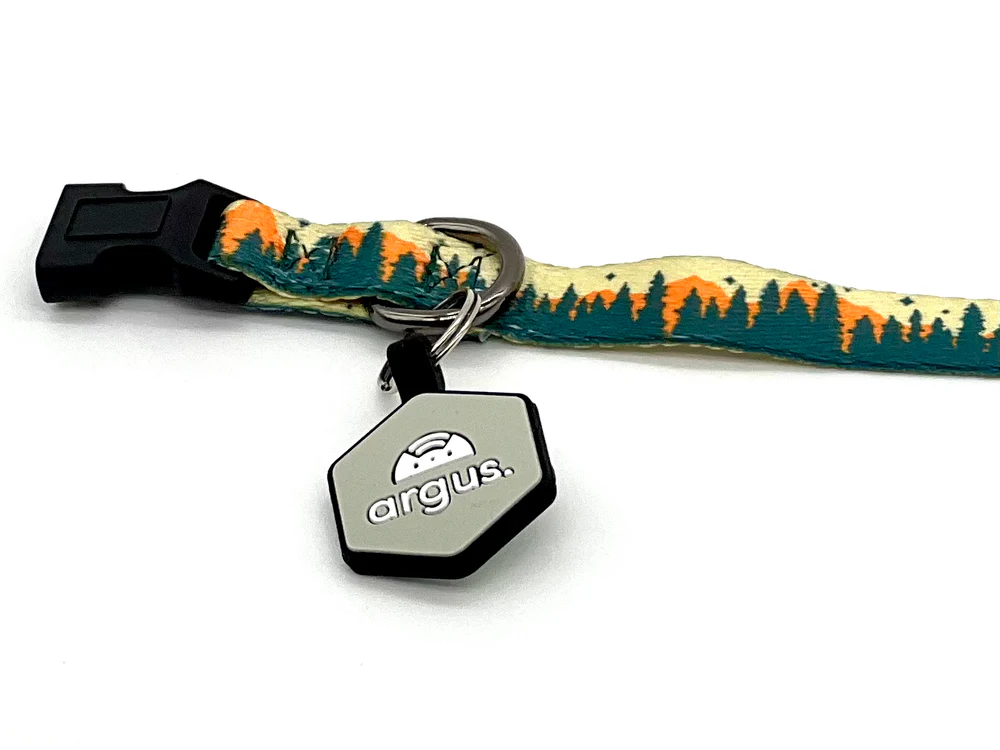
The future of pet safety lies in smart identification. While traditional tags are effective, integrating NFC technology takes recovery efforts to the next level. The Gray Silent Tech Tag from Argus offers U.S. pet owners a silent, sleek tag embedded with an NFC chip. Anyone with a smartphone can scan the tag and instantly access a custom digital profile for your pet, including contact numbers, medical notes, and even a message from you.
Tips to Make Your Tag Last Longer
DIY tags are affordable and fun to make, but durability is key to their effectiveness. Here are some tips to ensure your tag holds up over time:
- Use waterproof materials or sealants.
- Avoid placing the tag where it can rub excessively against your pet’s neck or fur.
- Choose lightweight materials that won’t bother your pet.
- Check the tag regularly for wear and replace it as needed.
- Keep an extra copy of your design in case you need to recreate it.
FAQs
Q1: Can I use a DIY tag instead of a microchip?
A DIY tag is a great supplement but not a replacement for microchipping. Microchips provide permanent ID, while Lost Pet Recovery Tags offer immediate contact options.
Q2: How often should I update my tag?
Anytime your phone number, address, or emergency contact changes, your tag should be updated. If you’re using a digital tag like the Gray Silent Tech Tag, you can edit your profile instantly via the Argus dashboard.
Q3: Are homemade tags durable enough for outdoor cats?
They can be, with the right materials. However, combining them with a durable product like the Gray Silent Tech Tag ensures added security and longevity.
Q4: What should I avoid putting on a pet ID tag?
Avoid listing your full home address. Instead, include your phone number and a city/state. You want to be contacted quickly without compromising privacy.
Q5: Can I add QR codes or barcodes to my DIY tag?
Yes, if you’re tech-savvy, you can generate a QR code linking to a contact page or pet profile. Just make sure it’s waterproof and scannable. Alternatively, the Gray Silent Tech Tag already includes easy tap-and-scan functionality with NFC.
Conclusion
Creating Lost Pet Recovery Tags at home is an empowering and affordable way to take control of your pet’s safety. It allows for customization, creativity, and immediate action in the event of an emergency. But for those who want a balance between handmade charm and high-tech reliability, integrating a solution like the Gray Silent Tech Tag from Argus offers the best of both worlds.
As a responsible pet owner, investing just a few minutes in creating or updating your pet’s ID tag can make all the difference.