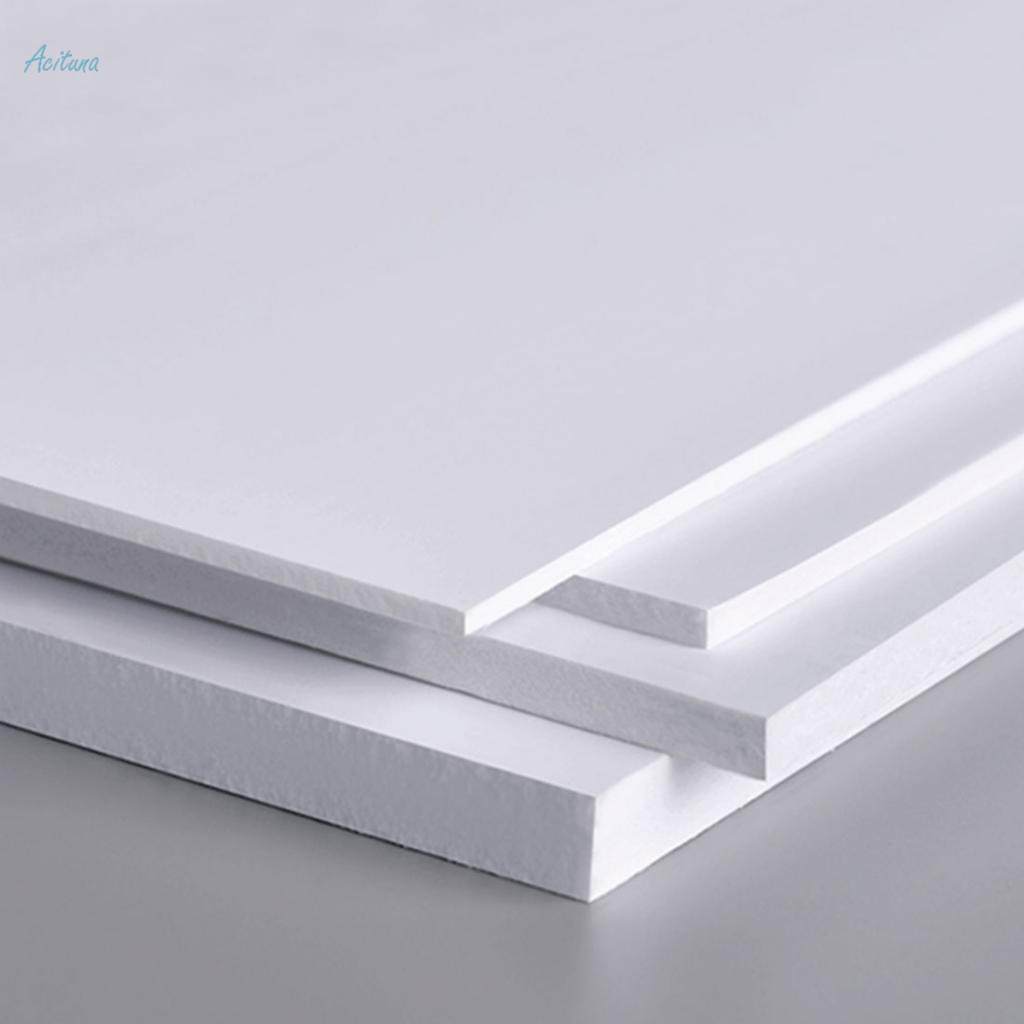
Foam boards are versatile materials that can be utilized in various creative projects, from educational displays to artistic endeavors. As we move into 2024, it’s essential to understand how to structure your foam board projects effectively. This article will guide you through the planning, design, and execution phases to ensure your projects are successful and visually appealing.
What is Foam Board?
Foam board, also known as foam core, is a lightweight yet sturdy material typically made from a polystyrene foam center sandwiched between two sheets of paper or plastic. It comes in various thicknesses and sizes, making it ideal for a range of applications.
Common Uses of Foam Board
Foam boards are commonly used for:
- Presentation Boards: Ideal for school projects and professional presentations.
- Art Displays: Perfect for mounting artwork or creating three-dimensional displays.
- Signage: Great for creating signs for events, businesses, or personal use.
- Model Making: Frequently used in architecture and design for creating scale models.
Planning Your Project
Define Your Purpose
Before starting, clarify the purpose of your foam board project. Ask yourself:
- What message do I want to convey?
- Who is my target audience?
- Where will the project be displayed?
Defining your purpose will guide your design choices and ensure your project is effective.
Gather Inspiration
Look for inspiration from various sources:
- Online Platforms: Websites like Pinterest and Instagram are excellent for discovering creative ideas.
- Art Galleries: Visiting local galleries can spark your imagination and provide fresh perspectives.
- Nature: Sometimes, the best ideas come from observing the natural world.
Create a Rough Sketch
Once you have a clear idea of your project, create a rough sketch. This doesn’t have to be detailed but should outline the basic layout, dimensions, and key elements of your design.
Designing Your Project
Choose the Right Materials
While foam board is the main component, consider additional materials that can enhance your project:
- Adhesives: Use strong glues or double-sided tape to secure components.
- Paints and Markers: For coloring and detailing your design.
- Cutting Tools: A sharp craft knife or precision cutter will ensure clean edges.
Plan Your Layout
Think about the arrangement of elements on your foam board:
- Balance: Distribute visual weight evenly across the board. Avoid clustering all elements in one area.
- Focal Points: Identify the central elements of your design that will attract the viewer’s attention.
- Negative Space: Don’t overcrowd your board; allow for empty spaces that can help enhance the overall design.
Color Scheme
Selecting a cohesive color scheme is crucial. Consider the following:
- Color Psychology: Different colors evoke different emotions. Choose colors that align with your project’s purpose.
- Contrast: Use contrasting colors to highlight important information or elements.
- Harmony: Ensure the colors work well together for a cohesive look.
Executing Your Project
Cutting and Assembly
Precise Cutting Techniques
Accurate cutting is vital for a professional finish:
- Use a Straight Edge: This will help guide your cutting tool for straight lines.
- Cut on a Safe Surface: Use a cutting mat to protect your work surface and your blade.
- Multiple Passes: For thicker foam boards, make several passes with your cutting tool rather than forcing it through in one go.
Assembling the Components
- Start with the Base: If your project has multiple layers, begin with the base layer and build up.
- Secure with Adhesives: Apply adhesive evenly to avoid lumps and ensure a smooth finish.
- Check Alignment: Regularly check that elements are aligned as you assemble them.
Adding Final Touches
Once your project is assembled, consider these finishing touches:
- Borders and Frames: Adding a border can help define your project and give it a polished look.
- Protective Coating: If your project will be displayed outdoors or in a high-traffic area, consider sealing it with a protective spray.
Displaying Your Foam Board Project
Choosing the Right Location
Where you display your project can impact its effectiveness:
- Visibility: Ensure the location allows for clear visibility from various angles.
- Lighting: Good lighting will enhance colors and details. Avoid harsh direct light that can create glare.
Mounting Options
Consider how you will mount your foam board:
- Easels: Great for temporary displays.
- Hanging: If hanging, use command strips or hooks that won’t damage the board.
- Freestanding: Use additional support for larger projects to ensure stability.
Maintaining Your Project
Regular Checks
If your foam board project will be displayed for an extended period, perform regular checks for wear and tear. Look for:
- Damage: Check for any signs of bending, tearing, or fading.
- Dust Accumulation: Clean your project gently with a soft cloth to maintain its appearance.
Refreshing Your Design
Consider updating your design periodically to keep it fresh. You can change colors, add new elements, or even create an entirely new project based on the original.
Conclusion
Structuring your foam board projects effectively in 2024 involves careful planning, thoughtful design, and meticulous execution. By following these tips, you can create visually appealing and impactful displays that resonate with your audience. Whether for educational purposes, artistic expression, or professional presentations, mastering the art of foam board projects will elevate your creative endeavors to new heights. Happy crafting!
