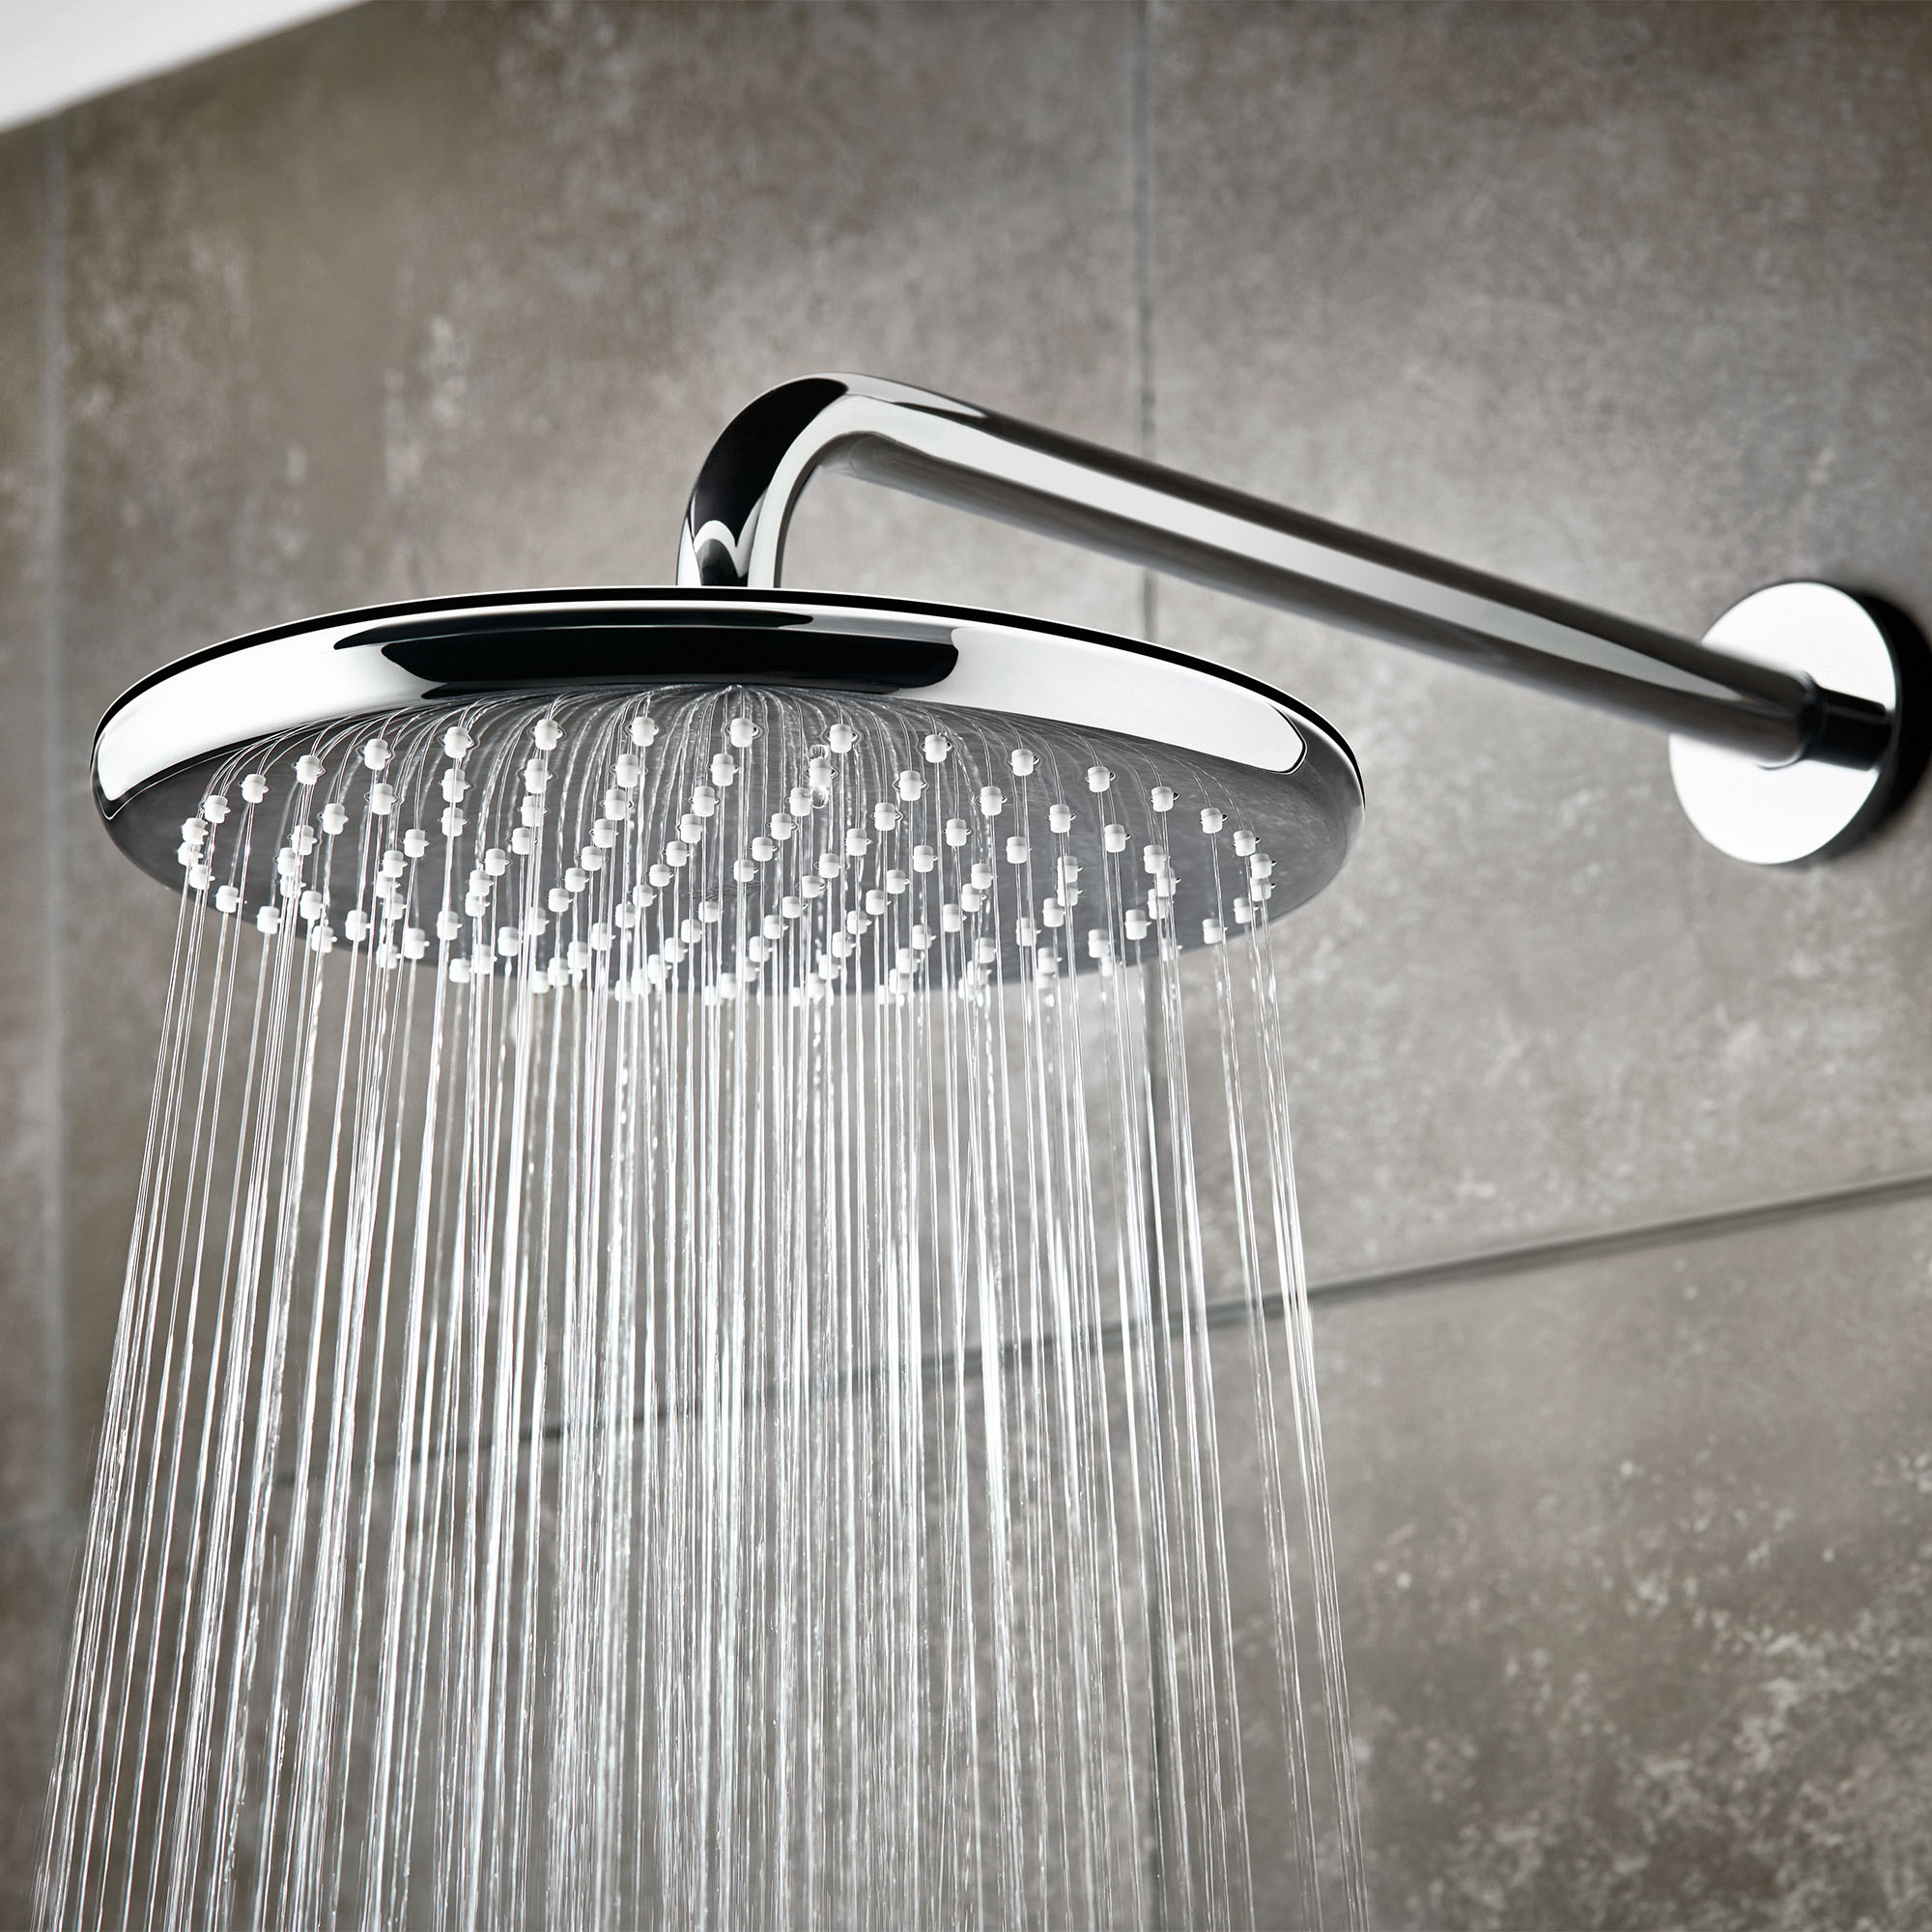
Installing a shower filter in your UAE home is an effective way to improve water quality and protect your skin and hair from the effects of hard water and chlorine. This step-by-step guide will walk you through the installation and maintenance process to ensure your shower filter works efficiently.
Step 1: Choose the Right Shower Filter
Before installation, select a filter compatible with your shower type, such as handheld, fixed, or rainfall. Popular options in the UAE include multi-stage filters for removing chlorine, heavy metals, and sediments.
Step 2: Gather Tools and Materials
Most shower filters come with installation instructions and necessary components. You may also need an adjustable wrench and plumber’s tape to ensure a secure fit.
Step 3: Remove the Existing Shower Head
Unscrew the shower head from the pipe using your hands or a wrench. If it’s stuck, use a damp cloth to provide grip and protect the fixture from scratches.
Step 4: Attach the Shower Filter
Screw the shower filter onto the shower arm. Wrap plumber’s tape around the threads to prevent leaks. Tighten it securely but avoid overtightening.
Step 5: Reattach the Shower Head
Connect the shower head to the filter. Ensure all connections are tight and aligned. Turn on the water to check for leaks and proper water flow.
Maintenance Tips
Replace filter cartridges as per the manufacturer’s instructions, typically every 4-6 months.
Clean the shower head and filter casing regularly to prevent buildup.
Monitor water flow; reduced flow indicates it’s time for a cartridge replacement.
By installing and maintaining a shower filter, you can enjoy clean, refreshing showers and protect your skin and hair from harsh water impurities.
